In emergencies, knowing basic first aid can save lives. Whether it’s stopping severe bleeding, performing CPR, or treating burns, quick action makes all the difference. Here’s a snapshot of what you’ll learn:
- CPR: Increases survival chances during cardiac arrest. Use chest compressions and rescue breaths.
- Bleeding Control: Apply firm pressure to stop bleeding; for severe cases, call 911 immediately.
- Burn Treatment: Cool burns with water, avoid creams or ice, and seek help for severe burns.
- Choking Response: Use back blows and abdominal thrusts to clear airways.
- Fractures and Sprains: Immobilize the area and follow the RICE method (Rest, Ice, Compress, Elevate).
Key Tools: A well-stocked first aid kit and a functioning AED are essential. Regular training ensures your skills stay sharp. Remember, your quick response can save a life.
Basic First Aid Training Video
Emergency Response Basics
In an emergency, it’s crucial to pause, ensure your own safety, and carefully assess the situation before taking action.
Scene Safety Assessment
Scene safety is the foundation of effective emergency response. As the American Red Cross puts it, “Keeping yourself safe will help you take care of others”. This approach is essential to avoid becoming another person in need of help.
When you approach an emergency scene:
- Stop and observe: Take a moment to evaluate the situation from a safe distance.
- Identify hazards: Look for dangers like live electrical wires, oncoming traffic, hazardous substances, or aggressive individuals or animals.
- Stay alert: Keep monitoring the scene, as conditions can change quickly.
For instance, in a car accident, safety protocols recommend pulling over at a safe distance and staying in your vehicle until emergency services arrive. This minimizes risks from secondary hazards like passing cars or broken glass. Once the area is secure, you can proceed with a systematic plan to address the emergency.
DRSABCD Emergency Protocol
The DRSABCD protocol is a step-by-step method designed to help you respond effectively in emergencies. It prioritizes key actions to ensure nothing critical is missed, even in stressful moments.
| Step | Action | Key Points |
|---|---|---|
| Danger | Check scene safety | Look for risks to yourself, bystanders, and the patient. |
| Response | Check consciousness | Determine if the person is alert and responsive. |
| Send for help | Call emergency services | Dial 911 or your local emergency number. |
| Airway | Check airway | Make sure the airway is clear and unobstructed. |
| Breathing | Check breathing | Look, listen, and feel for normal breathing. |
| CPR | Begin compressions if needed | Start CPR if there are no signs of life. |
| Defibrillation | Use AED if available | Follow the defibrillator’s prompts. |
Once the scene is safe, use this protocol to guide your response systematically.
Always prioritize safety in this order:
- Your own safety
- The safety of other responders or bystanders
- The care of the patient
This structured approach ensures clear decision-making under pressure while keeping safety at the forefront for everyone involved.
Treating Common Injuries
When dealing with injuries, ensuring the scene is safe and following proper protocols is the first step. After that, providing prompt and effective care can make a huge difference.
Cuts and Bleeding Control
Stopping bleeding quickly and preventing infection are top priorities when treating cuts and scrapes.
For minor cuts:
- Apply pressure: Use a clean cloth or gauze to press firmly on the wound until the bleeding stops.
- Clean the wound: Wash it gently with soap and warm water.
- Protect the area: Apply an antibiotic ointment and cover the wound with a sterile bandage.
- Maintain cleanliness: Change the dressing daily to reduce the risk of infection.
“Apply direct pressure on the cut or wound with a clean cloth, tissue, or piece of gauze until bleeding stops.” – WebMD Editorial Contributors
For severe bleeding, keep applying pressure even if the bandage becomes soaked. Instead of removing it, layer additional dressings and maintain firm pressure. If the bleeding doesn’t stop after 10 minutes, call 911 immediately.
Burn Treatment Guide
Burns require different care depending on their severity. The first step is to stop the burning process and cool the affected area.
| Burn Type | Characteristics | Initial Treatment |
|---|---|---|
| Superficial | Red, painful, no blisters | Cool with water for 20 minutes |
| Partial-thickness | Blisters and intense pain | Seek medical attention |
| Full-thickness | White or charred, may be painless | Get emergency care immediately |
General guidelines for all burns:
- Remove jewelry or clothing near the burn unless it’s stuck to the skin.
- Cover the burn loosely with clean plastic wrap.
- Avoid applying ice, butter, or creams to the burn.
- For chemical or electrical burns, seek immediate medical help.
Choking Response Steps
When someone is choking, start by checking if they can cough, speak, or breathe. If they can, encourage them to keep coughing. For severe choking, where breathing is obstructed entirely:
- Start with back blows: Stand behind the person, support their upper body, and lean them slightly forward. Deliver 5 firm blows between their shoulder blades with the heel of your hand.
- Move to abdominal thrusts: If back blows don’t work, perform 5 abdominal thrusts:
- Stand behind the person and place your fist above their navel but below the ribcage.
- Pull inward and upward sharply.
- Repeat until the object causing the choking is dislodged.
For pregnant or obese individuals, use chest thrusts instead of abdominal thrusts.
Fracture and Sprain Care
Quick action is key when dealing with fractures or sprains. Immobilize the injury immediately and follow the RICE method for sprains.
For suspected fractures:
- Immobilize the area to prevent further damage.
- Apply ice wrapped in a cloth to reduce swelling.
- Seek medical attention if the bone is visible, the area is severely swollen, the limb looks deformed, or the person is unable to move the injured part.
For sprains, follow these steps:
- Rest: Avoid putting weight on the injured area.
- Ice: Apply ice packs for 20 minutes every 1–2 hours.
- Compress: Use an elastic bandage to reduce swelling.
- Elevate: Keep the injured area raised above heart level when possible.
Knowing these steps can help you act confidently and effectively in emergencies.
sbb-itb-20dcc80
First Aid Equipment Guide
Having a well-stocked first aid kit and a properly maintained AED can make all the difference in an emergency.
First Aid Kit Contents
Whether it’s at home, in the workplace, or in your car, a first aid kit is a must-have. The American Red Cross suggests including these essentials in a basic family kit:
| Essential Items | Quantity | Additional Items | Quantity |
|---|---|---|---|
| Adhesive bandages (various sizes) | 25 | Instant cold compress | 2 |
| Gauze roll bandage (3-inch) | 2 | Emergency blanket | 1 |
| Gauze pads (3×3 inch) | 10 | Breathing barrier | 1 |
| Adhesive cloth tape | 1 roll | Non-latex gloves | 4 pairs |
| Antibiotic ointment | 5 packets | Hydrocortisone cream | 5 packets |
| Antiseptic wipes | 10 | Scissors | 1 pair |
| Aspirin tablets | 2 packets | Tweezers | 1 |
Keep your kit stored in a cool, dry place, away from direct sunlight. Make it a habit to check the kit every three months to replace expired medications, restock used items, and ensure all tools are in working order.
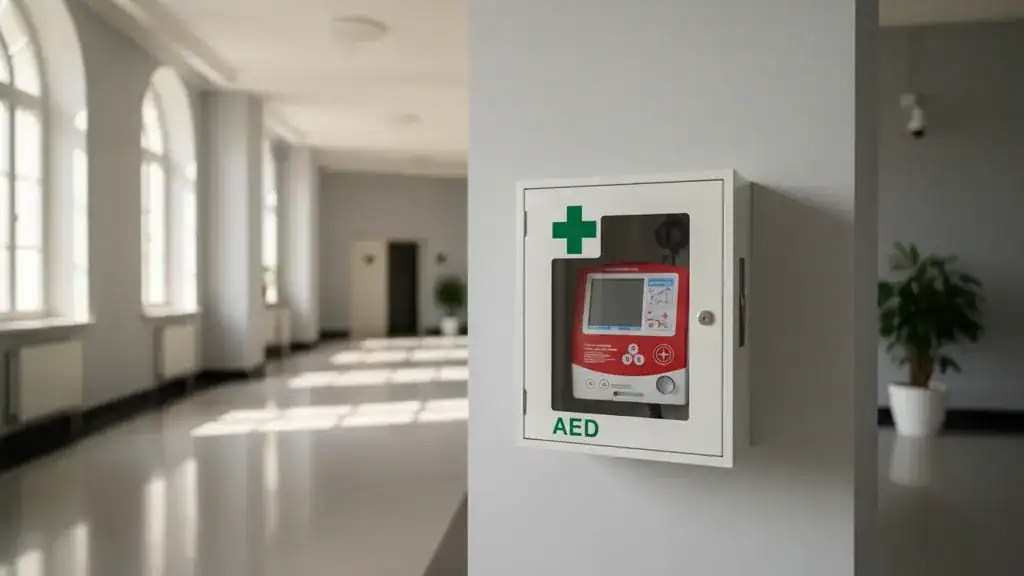
AED Use and Maintenance
An AED is a critical tool for treating cardiac emergencies. Research shows that survival rates from sudden cardiac arrest drop by 7–10% for every minute without CPR or defibrillation.
Here’s how to keep your AED in top condition:
- Monthly Inspections: Check the device’s status indicator, battery life, and electrode pad expiration dates. Keep a log of these checks.
- Proper Storage: Place the AED in a visible and accessible location at room temperature. Avoid exposing it to extreme heat or cold, which can impact battery life and the functionality of electrode pads.
- Cleaning After Use: Use a soft, damp cloth with 90% isopropyl alcohol or a mild soap solution to clean the device. Replace batteries and electrode pads as needed, ensuring they are never expired.
In workplace settings, monthly checks should also include:
- The green status indicator
- Battery and electrode pad conditions
- Cable and housing integrity
- Accessibility of the device
CPR Guidelines
Knowing how to perform CPR can make the difference between life and death during emergencies.
CPR Step-by-Step
| Age Group | Hand Position | Compression Depth | Compression Rate | Breath Technique |
|---|---|---|---|---|
| Adults | Two hands, center of chest | At least 2 inches | 100–120 per minute | Mouth-to-mouth |
| Children | One or two hands, center of chest | About 2 inches | 100–120 per minute | Rescue breaths with a proper seal |
| Infants | Two fingers below nipple line | About 1.5 inches | 100–120 per minute | Cover both mouth and nose |
For adult CPR, follow these steps:
- Ensure the scene is safe: Check the surroundings and use protective equipment if available.
- Assess the victim: Check for responsiveness and normal breathing.
- Call for help: If the person is unresponsive, dial 911 immediately or ask someone else to do so.
- Start chest compressions:
- Place both hands in the center of the chest.
- Keep your elbows locked and position your shoulders directly above your hands.
- Compress the chest at least 2 inches deep at a rate of 100–120 compressions per minute.
- Provide rescue breaths:
- After 30 compressions, give 2 breaths.
- Ensure the chest rises with each breath.
- Maintain a 30:2 ratio of compressions to breaths until professional help arrives.
“CPR is the single-most important intervention for a patient in cardiac arrest and should be provided until a defibrillator is applied to minimize interruptions in compressions.” – American Heart Association
Using AEDs with CPR
Combining CPR with an Automated External Defibrillator (AED) can significantly increase survival rates. A national survey found that about one-third of safety managers reported lives saved due to effective First Aid, CPR, and AED training.
When using an AED during CPR, follow these steps:
- While continuing CPR, have someone retrieve the AED.
- Turn on the AED and follow its voice instructions.
- Ensure no one is touching the victim while the device analyzes the heart rhythm.
- If a shock is advised, deliver it and immediately resume CPR.
- If no shock is advised, continue CPR without delay, keeping pauses under 10 seconds.
Repeat this process until emergency responders arrive or the person shows clear signs of recovery.
Conclusion
First aid knowledge and skills aren’t just useful – they’re essential. However, like any skill, they fade without practice. Research shows that people can forget up to 80% of their first aid training within a year if they don’t regularly refresh their knowledge. This highlights how crucial it is to stay sharp with consistent training.
The importance of first aid goes far beyond individual readiness. Statistics reveal a sobering reality: as many as 250,000 lives are lost each year due to a lack of first aid knowledge. Even more alarming, only 46% of cardiac arrest victims receive CPR from bystanders. These numbers point to a significant gap in emergency response preparedness.
Here are a few practical steps you can take to bridge that gap:
- Enroll in refresher courses regularly: Accredited organizations offer training to keep your skills current.
- Check your first aid kit: Make sure it’s fully stocked and that all items are within their expiration dates.
- Practice emergency scenarios: Rehearsing can boost your confidence and reinforce muscle memory.
- Stay updated: Keep yourself informed about changes to first aid protocols and guidelines.
“First aid isn’t merely a set of skills; it’s a critical response capability that can mean the difference between life and death in emergencies.” – Training Lives
Dr. Shreya Dave from Maharashtra University of Health Sciences adds, “A well-stocked first aid kit will significantly improve the prognosis of an underlying condition by slowing its progression until the patient can reach a healthcare facility”.
Don’t wait for an emergency to remind you of its importance. Commit to regular training and keep your emergency skills sharp. In a crisis, your preparedness could save a life.
FAQs
How often should I update my first aid training to stay prepared for emergencies?
To keep your first aid skills sharp and reliable, it’s a good idea to refresh your training every 1-2 years. When it comes to CPR certification, renewing it annually is recommended to ensure you’re proficient and familiar with any changes to techniques or guidelines.
These regular updates do more than just reinforce your knowledge – they also strengthen your confidence in managing emergencies. Staying current means you’re prepared to act effectively when real-life situations demand quick and informed responses.
What items should I include in a basic first aid kit for emergencies?
A well-prepared first aid kit can make a big difference when dealing with everyday injuries or unexpected emergencies. Here’s a list of essential items to include:
- Adhesive bandages in multiple sizes for cuts and scrapes
- Sterile gauze pads and adhesive tape for dressing wounds
- Antiseptic wipes or solution to clean injuries
- Tweezers and scissors for removing splinters or cutting bandages
- Elastic bandages for sprains and strains
- Instant cold packs to reduce swelling
- Disposable gloves and a CPR face shield or mask for hygiene and safety
- Pain relievers like ibuprofen or acetaminophen for minor aches
- Burn cream or gel to soothe burns
- Thermometer to check for fever
- Safety pins for securing bandages
- A small first aid manual to guide you in emergencies
Make it a habit to check your kit regularly. Replace used or expired items so that you’re always ready to handle minor injuries with confidence.
How can I make sure an AED is always ready to use in an emergency?
To ensure an AED is always ready for emergencies, it’s important to perform regular inspections. Check for any visible damage or dirt, and make sure the status indicator confirms the device is operational. Follow the manufacturer’s guidelines to replace batteries and electrode pads, typically every 2–5 years. Keeping a simple log of these inspections can help you stay organized and avoid missing critical updates.
Store the AED in a location that’s easy to see and access, keeping the area free from clutter or obstacles. It’s equally important to provide regular training for anyone who might need to use the device. This helps build confidence and readiness to act quickly during an actual emergency. Routine maintenance and clear accessibility are crucial to ensuring the AED is ready to save lives when it’s needed most.
Related posts
Disclaimer for information purposes only:
The information provided on this website is intended for general educational and informational purposes only. It is not medical advice and should not be used as a substitute for professional diagnosis, treatment, or care. Always consult a qualified healthcare or medical professional regarding any health-related questions or concerns.
While we strive to ensure the information shared is accurate and up to date, no guarantees are made regarding completeness, accuracy, or applicability to any individual situation. Use of this content is at the reader’s sole discretion and risk.
This website is part of the Response Ready family of emergency preparedness and training resources, including CPR & first aid training and compliance services, AED sales and program support, AED program management software, and medical oversight solutions provided through our affiliated platforms:
• AEDLeader.com
• ResponseReady.com
• AEDTotalSolution.com
• MDSIMedical.com
By accessing or using this website, you agree to release, indemnify, and hold harmless the website owners, authors, contributors, and affiliated entities from any claims, losses, damages, or liabilities arising from the use or reliance on the information presented.

Ayaan Shohan
Ayaan Shohan
Save Lives with the Right AED Today
Buy Trusted AEDs from AED Leader Today!
Get Certified in CPR and Make a Difference!